Installing a project lamp housing in a cove ceiling can significantly enhance the aesthetic appeal and functionality of your space. As a reputable project lamp housing supplier, I've witnessed firsthand how a well - installed lighting fixture can transform a room. In this blog, I'll guide you through the step - by - step process of installing a project lamp housing in a cove ceiling, ensuring a professional and long - lasting result.
Step 1: Preparation
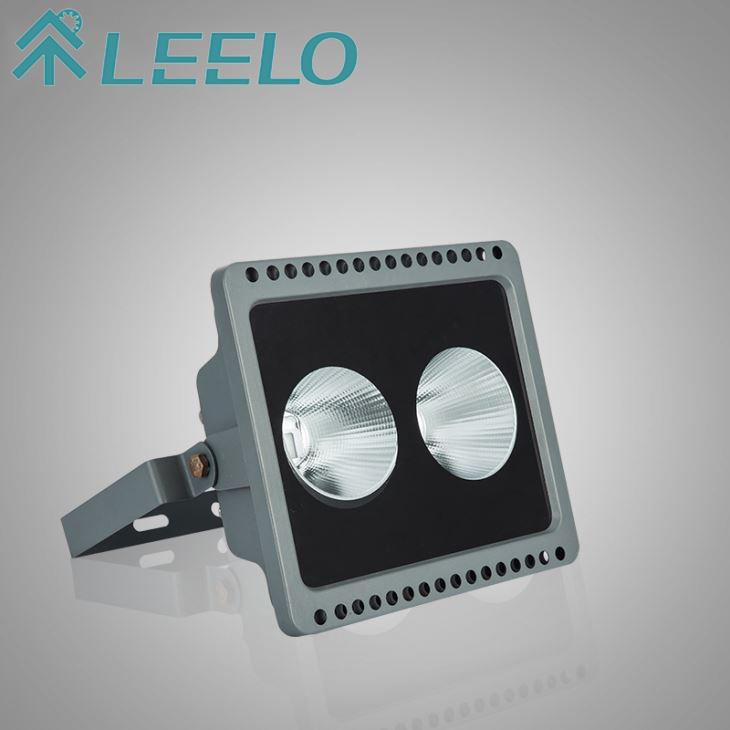
Before you start the installation process, you need to gather all the necessary tools and materials. You'll need a measuring tape, a drill with appropriate drill bits, a screwdriver, a level, a stud finder, and of course, the project lamp housing. As a supplier, I can attest to the importance of choosing high - quality lamp housings. For instance, our Quality LED Flood Light with Two Round LED Chip is a great option that offers excellent illumination and durability.
Measure the cove ceiling to determine the appropriate size and placement of the lamp housing. Use a stud finder to locate the ceiling joists, as you'll need to attach the housing securely to these structural elements. Mark the positions on the ceiling where you'll install the lamp housing, ensuring they are evenly spaced for a balanced look.
Step 2: Cutting the Hole
Once you've marked the positions, it's time to cut the holes in the cove ceiling for the lamp housing. Use a drywall saw or a jigsaw to carefully cut out the holes according to the dimensions of the housing. Be sure to wear safety goggles and a dust mask to protect yourself from debris.
It's crucial to make clean and precise cuts. A poorly cut hole can make it difficult to install the lamp housing properly and may also affect the overall appearance of the installation. If you're unsure about making the cuts, you may consider hiring a professional to do this part of the job.

Step 3: Wiring
Proper wiring is essential for the safe and effective operation of the project lamp housing. Before you start working on the wiring, turn off the power supply to the area at the circuit breaker. This will prevent any electrical shocks or short circuits.
If you're not experienced with electrical work, it's highly recommended that you hire a licensed electrician. However, if you have the necessary skills, you can connect the wiring according to the manufacturer's instructions. Most project lamp housings come with detailed wiring diagrams that guide you through the process.
Make sure to use the appropriate gauge of wire and secure all connections with wire nuts. Wrap the connections with electrical tape for added safety. Our China Aluminum Housing AC85 - 265V LED Flood Light Housing Suppliers products are designed with user - friendly wiring systems, making the installation process relatively straightforward.
Step 4: Installing the Lamp Housing
After the wiring is complete, it's time to install the lamp housing into the holes you've cut in the cove ceiling. Carefully lower the housing into the hole, aligning it with the marked position. Use a level to ensure that the housing is perfectly horizontal.
Secure the lamp housing to the ceiling joists using screws. Make sure the screws are tightened properly, but be careful not to overtighten, as this could damage the housing or the ceiling. Some lamp housings come with mounting brackets that make the installation process even easier.
Step 5: Testing
Once the lamp housing is installed, turn the power supply back on at the circuit breaker. Test the lamp to ensure it is working properly. Check for any flickering, dimming, or other issues. If you encounter any problems, double - check the wiring connections and make sure the lamp is properly seated in the housing.
Step 6: Finishing Touches
After the lamp is working correctly, you can add any finishing touches to the installation. This may include installing the lamp cover or diffuser, which can help to soften the light and create a more pleasant ambiance. You can also paint the edges of the hole in the ceiling to match the color of the cove ceiling, giving the installation a more seamless look.
Maintenance and Troubleshooting
Regular maintenance is important to keep your project lamp housing in good working condition. Clean the lamp cover and housing periodically to remove dust and dirt. Check the wiring connections and screws regularly to ensure they are secure.
If you experience any problems with the lamp, such as a burnt - out bulb or a malfunctioning switch, refer to the manufacturer's troubleshooting guide. In some cases, you may need to replace a component of the lamp housing. Our 2017 New Arrival Energy Saving LED Spotlight Housing 100W 150W 200W comes with a comprehensive warranty and support, so you can have peace of mind knowing that you're covered.
Conclusion
Installing a project lamp housing in a cove ceiling is a rewarding project that can greatly enhance the look and functionality of your space. By following these steps and using high - quality products, you can achieve a professional - looking installation that will last for years to come.
As a project lamp housing supplier, I'm committed to providing you with the best products and support. If you're interested in purchasing project lamp housings for your next project, or if you have any questions about the installation process, please feel free to contact us. We'll be happy to assist you with your procurement and answer any technical questions you may have.
References
- General guidelines on electrical safety from the National Electrical Code.
- Manufacturer's instructions for project lamp housing installation.